Lilium 6 Inch Warm White Modular LED Under Cabinet Lighting - Pro Kit (12 Panels)

Lilium 6 Inch Warm White Modular LED Under Cabinet Lighting - Pro Kit (12 Panels)

Sale price$144.99
SKU: F4920
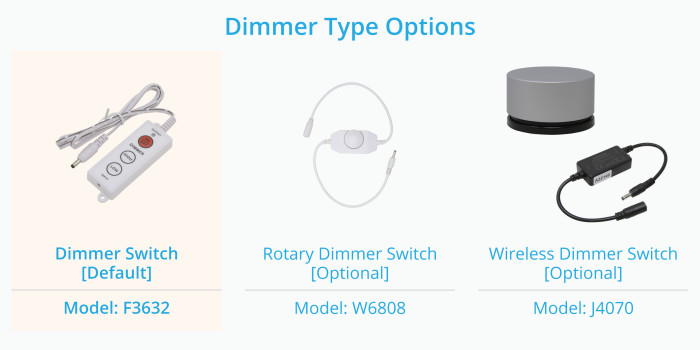
Switch Type:Dimmer Switch
Power Supply Wattage:36W
Quantity:

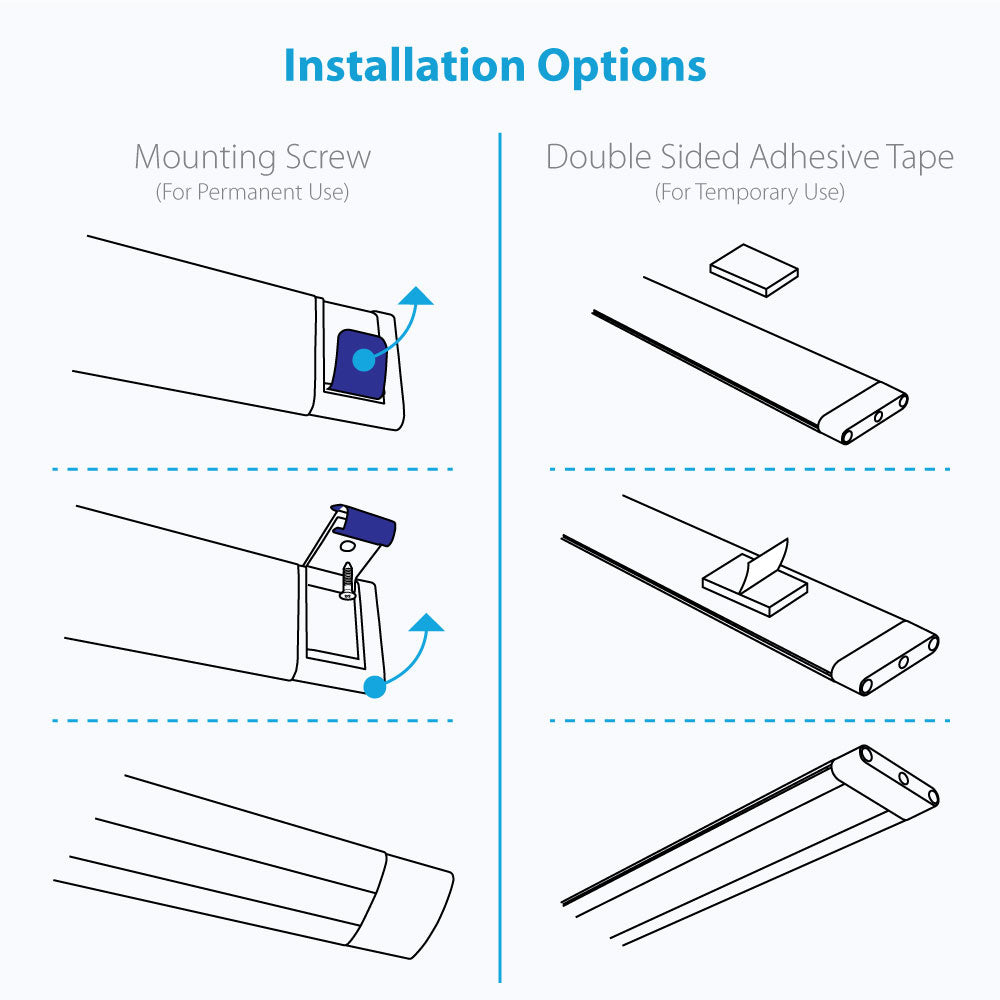
  • Simple Plug-in Installation. For most of the cases, the only tool you will need is a screwdriver for the built-in mounting hinge.
  • Bright 2400 Lumen (about 20 percent brighter than most under cabinet lighting available in the market).
  • Each individual unit has Bright 21 LED 
  • Only Consumes 30 Watt Maximum. Saves at least 80 percent on energy.
  • 24 Voltage (24VDC) offers highly energy-efficient, minimum heat contribution, longer life span, and safer.
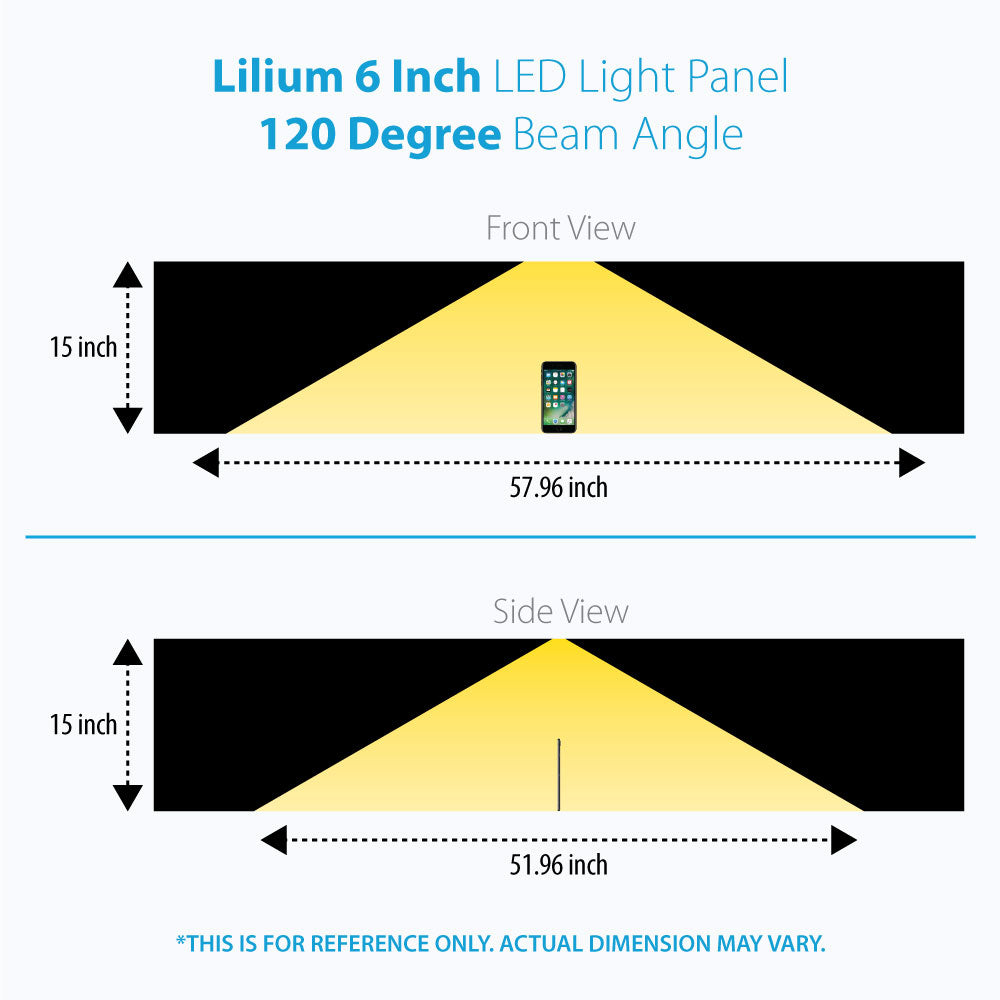
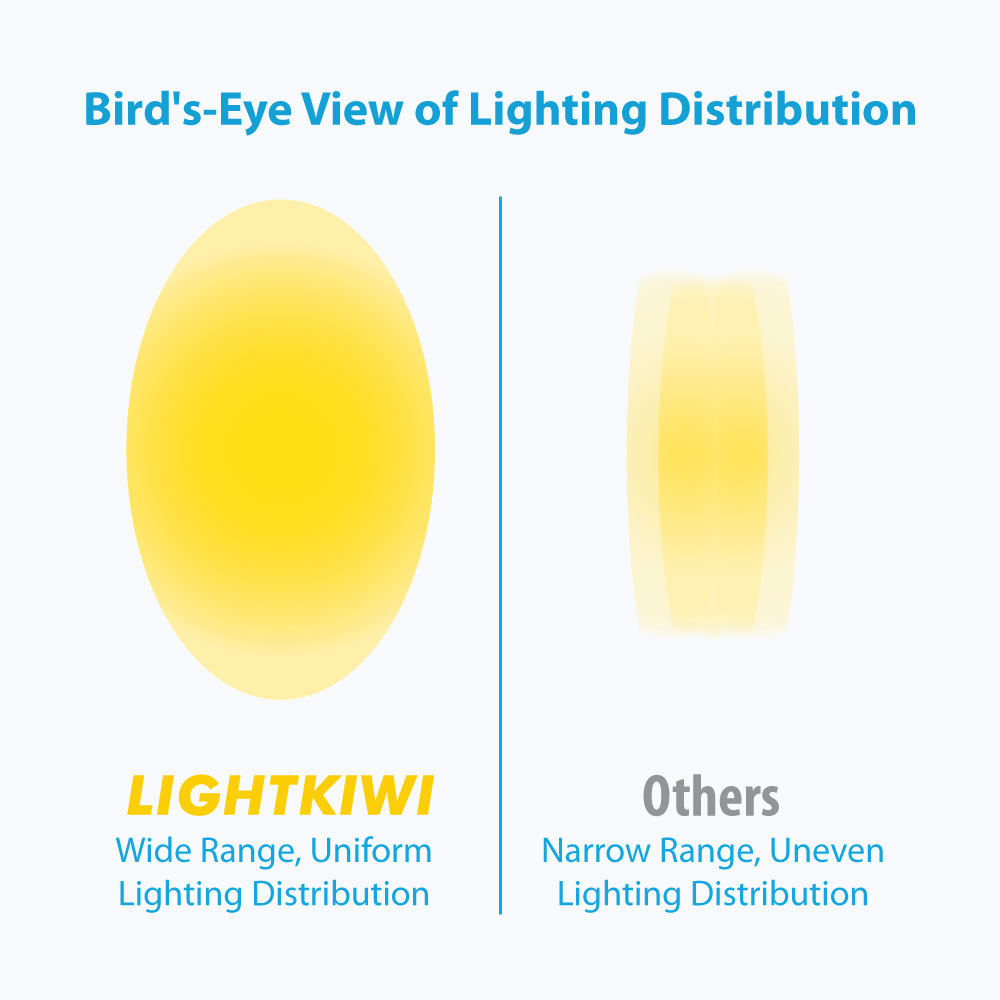
  • The light distributes in 120 Degree Beam Angle to optimize and maximize lighting under the cabinet.
  • Easily Control the Brightness to the desired level using the inline dimmer switch.
  • To ensure maximum safety, Modular LED Light Panel has been Certified by UL.


What's Included

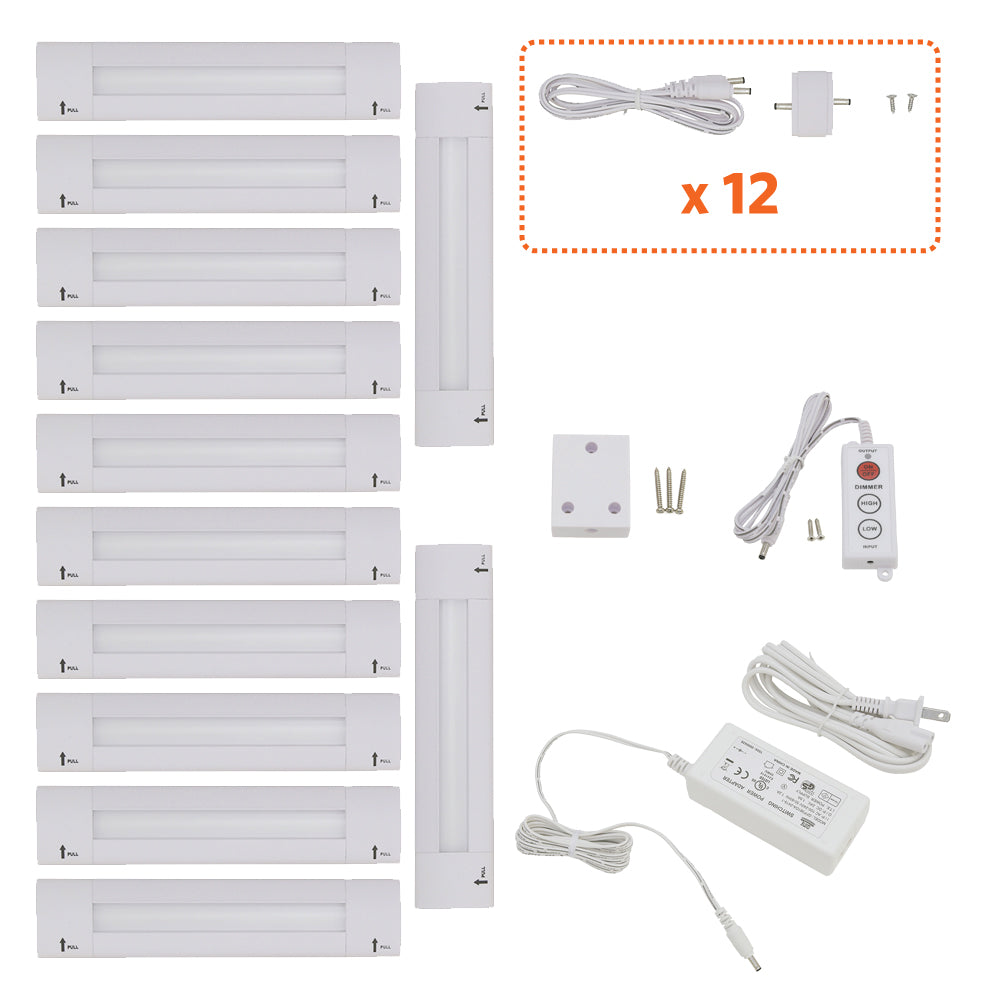
  • 12 x Lilium 6 Inch Warm White Modular LED Under Cabinet Lighting Panel
  • 1 x 36 Watt Power Supply (White) - Link Up to (14) Lilium 6 inch LED Panel
  • 1 x Dimmer Switch (White)
  • 1 x 4 Way Splitter (White)
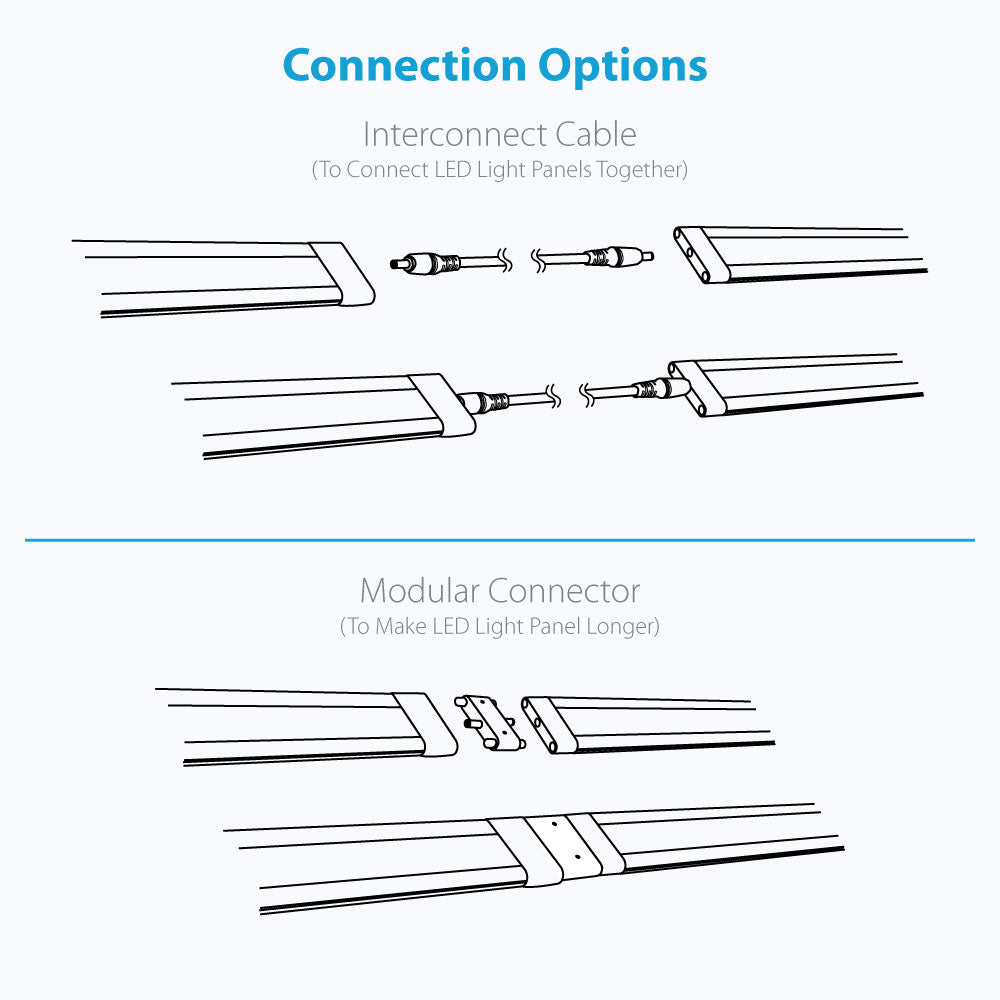
  • 12 x 3ft Interconnect Cable
  • 12 x Modular Connector
  • 24 x Mounting Screw

If you want a different dimmer type, please select from “Dimmer Type (Optional)”. For more information, use the link below to learn more about each product.

[Dimension]

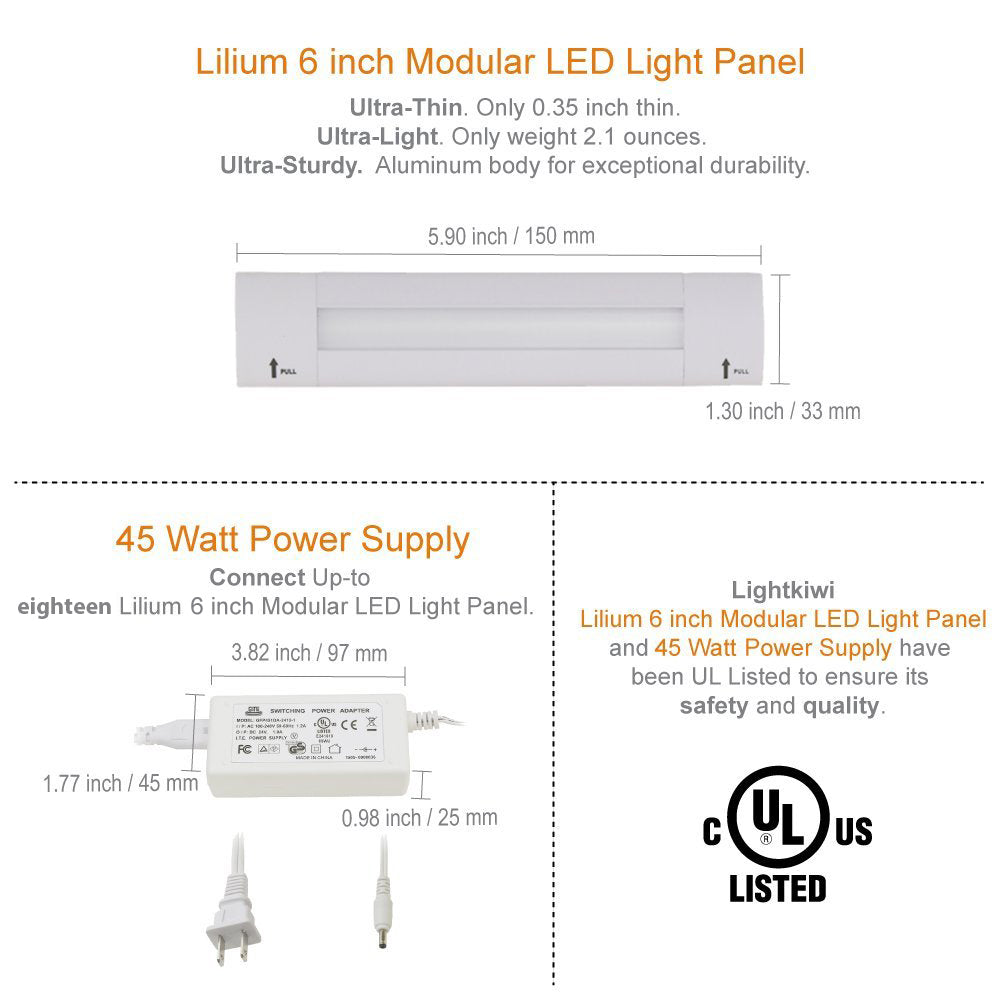
Lilium 6 Inch LED Light Panel
5.90 x 1.30 x 0.35 Inch. (150 x 33 x 9 mm)

36 Watt Power Supply
3.82 x 1.77 x 1.14 inch (97 x 45 x 29 mm)

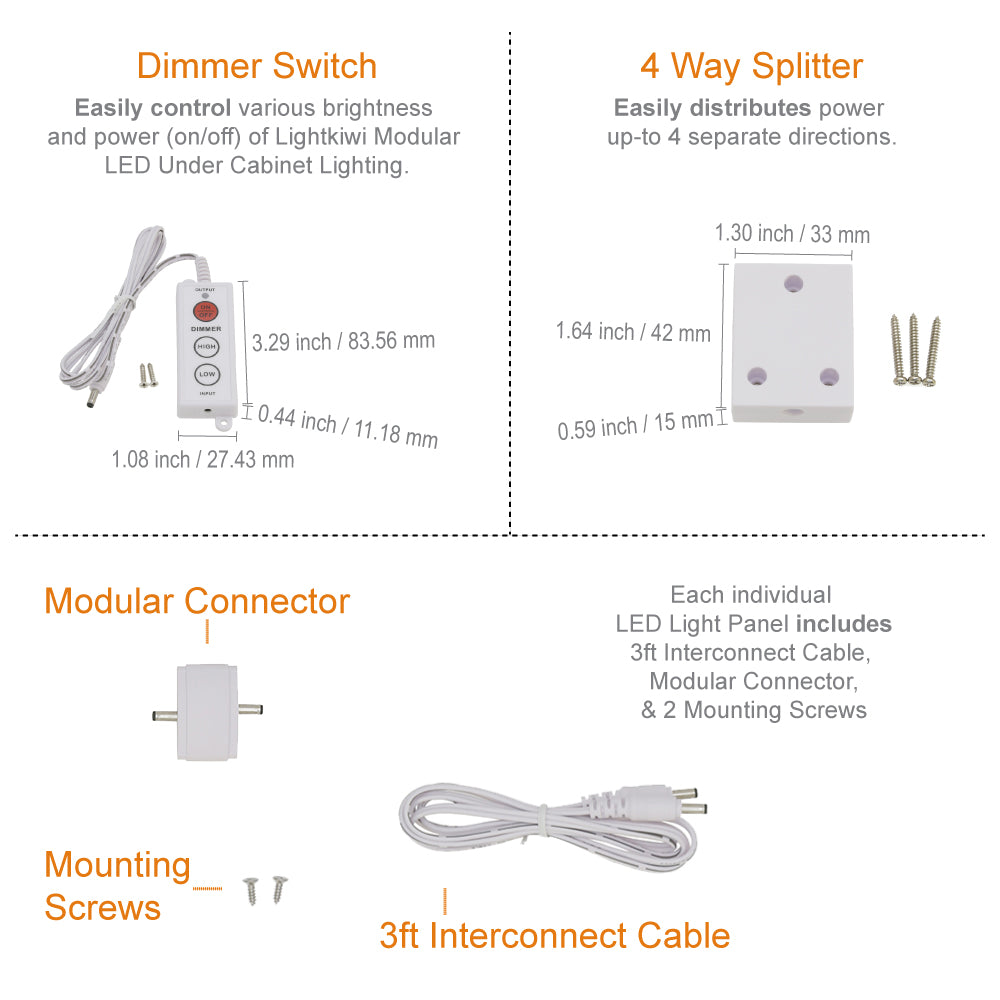
Dimmer Switch
3.29 x 1.08 x 0.44 Inch (83.56 x 27.43 x 11.18 mm)

4-Way Splitter
1.64 x 1.30 x 0.59 Inch. (42 x 33 x 15 mm)

Modular Connector
0.62 x 1.28 x 0.35 Inch (15.75 x 32.5 x 9 mm)


Hardwire Installation
If you plan to use a wall dimmer switch, you need to do the hardwire installation with a dimmable transformer, instead of the included power supply which plugs into a wall outlet, due to the voltage difference between the wall dimmer switch (110V) and LED light panel (24V). The inline dimmer switch (24V) is incompatible with a dimmable transformer.

If not used with a wall dimmer switch, a plug-in power supply (except a wall mount power supply) can be used to do the hardwire installation, but if a dimmer switch is needed, a 24V dimmer switch is required. You would need to splice the power plug from the power cord and connect it to the power source with a junction box or something similar. The wall dimmer switch (110V) is incompatible with the plug-in power supply.

Power Supply Start-Up time
Depends on the wattage of the power supply, the start-up time may differ.  Please use matched wattage of power supplies for the best result.

Customer Reviews

Based on 9 reviews
78%
(7)
22%
(2)
0%
(0)
0%
(0)
0%
(0)
a
anthony cordice
Ten pack combo was exactly what I needed

To a 24v in wall slide dimmer/on/off switch with duel slides to control bottom cabinet lights separate from the top cabinet lights . The ten pack worked perfect

R
Robert J.
Liked them so much I had to have them at my desk

Ten months ago I installed 2 Lightkiwi 6" LED Warm White kits of 12 panels in my kitchen and I liked them so much I decided to do the same for my built-in desk alcove where my computer is. The Lilium panels are supposed to be a bit brighter, so I chose those for my desk area. So I thought it might help someone else if I added a few notes. I chose the 6" kits in both cases because I wanted to mount the light panels parallel to the front of the cabinets and some cabinets are too narrow to accommodate the 12" panels. In both cases the cabinets have front, back, and side boards that extend 3/4" below the bottom of the first shelf (which I call the lip), where the lights were to mount. I chose the Warm White in both cases because I have a LED desk lamp that has too blue and gives me a headache after a while. 1. I felt from the manufacturer's online pictures that a single row of lights would not be real bright, so I doubled up and used 2 rows located about 1" from the front of the cabinets and about 1/4" separation between the rows. I'm really happy I did that because I now have a level of light appropriate for working with sharp knives or assembling small devices and reading small print at my desk. A single row would be sufficient for lighting a display of china dolls or something but I need plenty of light for intricate work. 2. Somebody said it comes with cheap tape that comes down. Mine came with 3M 9080A pre-cut into 1-1/2" x 3/4" pieces, which is the same stuff I'd choose if I were picking it. I'd have to ask that person how he prepared the surface - 3M recommends cleaning it with isopropyl alcohol, making sure it is clean, dry, and non-porous. Next to the stove, perhaps the safe thing would be to varnish first. Also it is the initial adhesion that matters - nothing you do later helps. I heated the surface a bit with a hair dryer, and applied as much pressure as I thought the panels would take for a full 60 seconds each. None of mine have come down so far. 3. I can't seem to find it now, but I thought somebody had asked if these will work with 240 VAC and got "No." for the answer. The Power Supplies I received specify I/P: 100-240 VAC, 50-60Hz, 0.55 A. The supplied cord is for a standard 120 V USA receptacle, but the cord is removable so you probably could change it to something compatible with 240 V distribution. 4. Wiring considerations: The Power Supply has a 120V AC input and a 24V DC output with a permanently attached wire with a male connector (24 W for LED and 36 W for Lilium, but beefier ones are available). Everything else is all 24V DC. The Dimmer Switch has a female input (normally connected to the Power Supply 24V output) and a switched and dimmed 24V permanently attached wire with a male connector on its output. There are some other components that are available (e.g., motion detectors) that have a defined input and output, but all Lilium (and LED) Panels, N-way splitters, Interconnect Cables, and Modular Connectors behave as a 2

P
PRH
Good lights but some cheap components but can't beat for price! Use speaker wire to splice in lon...

These are good, inexpensive and bright under-cabinet lights! I had an electrician install a switched outlet over the microwave and I ran the cords for the lights along the inside corners of cabinets to keep them from view. For the run over the window, I ran the wire on top of the window casing over the window and tucked the wire into the window molding (a small gap allowed to tuck it in with a blunt screwdriver) and over the window casing. I spliced in lengths of 22 gauge speaker wire into the provided 3 ft connector cords to cover longer runs (e.g., over the kitchen sink). I chose these over the standard Lightkiwi kits as these are thinner/lighter and can be taped to the cabinet with mounting tape rather than screws. Also, they supposedly have a thinner profile and better LEDs so light output is higher. A few issues: 1) The touch pad on/off switch is pretty flimsy. The touch pad switch button cover fell off after a few weeks, even though we hardly used them; as the lights are mostly turned on/off on the wall switch). We just left the switch without the cover and it works fine but we only turn the lights on/off at the wall switch and leave them at full brightness. 2) The screws provided to screw these lights in are very flimsy, they are the kind that get stripped in no time. Also included is adhesive mount tape (which I ended up using to avoid drilling holes into my cabinets). But, the mounting tape is pretty cheap so lights have fallen off over time, especially in areas where there is high heat/humidity (near the coffeemaker for example). So, one needs to factor in more heavy duty mounting tape. 3) The included connecting cords are either too long or too short for most needs, so you have to either buy longer cords (they are spendy) or cut and splice in speaker wire (get at any big-box store) into the supplied cords for long runs. For short runs, you can tie the excess cord together and use cord clamps or clips to hold them in place. Other than that, installation was quite easy, save for a few holes drilled into the cabinets to run wiring through. The kitchen is not bright and welcoming. Having a wall switch makes it easier rather than fumbling for a hidden switch under the cabinet (the lights turn on at the dimming level held when turned off).

C
ClaudiaK
Husband's remark: why don't WE have these?

We installed these in our daughter and son-in-law's house a few days ago, as a Christmas surprise. (They haven't returned from their trip yet, so they still don't know. Shhhhhhhhh.) Thanks to the featherweight light panels and the miracle of double-sided tape (included in the kit), we didn't have to make any permanent changes in their cabinets and the lights are firmly in place. We used 11 light panels under cabinet runs that totaled 9'. but could have used fewer panels (if the cabinet arrangement had permitted) and still had good results. The diffusers on each panel create an even light that doesn't reflect unattractively on the granite counter and the improvement in light quality in the kitchen is remarkable. As others have pointed out, hiding the wiring takes more time than getting the lights set up. A particularly long wiring run around a large window required a longer wiring run than the 12' length I added to the order; husband cannibalized one of the included 3' wires and spliced it into the middle of the 12' cable. Because it's inside a Cordmate cable manager (a plastic tube made for concealing wiring, purchased at Home Depot), the splice is hidden and protected. I do recommend thinking the project through and having some Cordmates, electrical tape that matches your cabinets, and Command stick-on clips handy, to help conceal the wiring. PROS: excellent light quality, light weight design, everything needed for instant gratification is included. CONS: no printed installation instructions (I would have felt more confident, even with basic Ikea-style pictures); lots of 3' long cables are included, but our installation benefited from the use of 4" cables that we had to order separately, adding some expense to the project; the on/off/dimmer switch is awkward looking and the red light on it is...*intense*...so we placed it in a readily accessible place on the underside of a cabinet to minimize its visual impact. We're very satisfied with this product and would (and probably will) purchase another one. Edit February 2019. The lights were a hit, so for Christmas 2017, we bought another set of lights for the other side of daughter/son-in-law’s kitchen. Both sets work perfectly and I believe they add a lot of value to the kitchen.

E
Eugene
Super easy to install!

I thought this would be a gimmick kind of device or I would run into some kind of problems but wow these are awesome! I do wish the cords were smaller or easier to make smaller as I had a lot of extra cord that I had to roll up and tape under the cabinet but besides that it took me about 45 min to install these and that's because I wanted to make sure the wire was hidden as much as possible. I will still research for a way to make the cables shorter. I kind of wish the on/off switch had an option where only one cord needed to be plugged into it.